Screen Artifacts: Is It Your GPU or Your Monitor?
Table of contents
Screen artifacts are glitches the picture should not contain: sparkles, colored dots, checkerboard patterns, shifted blocks, stretched or flickering textures. The fastest way to find the cause is a screenshot. If the artifacts appear in the saved image, the graphics card, its driver or an app created them. If the screenshot is clean, the fault comes after the card, in the cable, the port or the monitor. Two more checks, the BIOS screen and a second display, narrow it down to one part.
What counts as a screen artifact?
A screen artifact is any visual error that is not part of the image you asked for. It is different from a setting you dislike or a normal panel trait. Artifacts tend to be random, change from frame to frame, or appear in places that make no sense, such as colored snow over a still desktop.
A few common faults look like artifacts but are something else. Screen tearing is a horizontal split where the top and bottom of the screen show different frames. Ghosting is a blurry trail behind moving objects. Banding is visible steps in a smooth gradient. These have their own causes and fixes, so rule them out before you suspect broken hardware. More on each below.
How to tell if it’s your GPU or your monitor
Run these tests in order. Each one takes a minute or two, and together they point to one part in most cases.
Take a screenshot
Press the Windows key + Print Screen. Windows saves the image to Pictures, then Screenshots. Open it on a different device, such as your phone, so your own screen cannot add anything. Artifacts in the image mean the GPU, its driver or the app drew them. A clean image means the fault happens after the card.Watch the BIOS or boot screen
Restart the PC and look at the maker’s logo or open the BIOS setup. No graphics driver is running at this point. Artifacts here mean hardware, either the graphics card or the monitor and cable, not Windows or a game.Open the monitor's own menu
Press the menu button on the monitor. The monitor draws this menu itself. If the menu is broken or covered in glitches, the monitor is at fault, whatever the PC is doing.Swap the cable and port
Use a different cable, without adapters, and a different port on the card or another connector type. If the artifacts stop, you found the cause.Try a second display or a second PC
Connect the PC to a TV or another monitor. Artifacts that follow the PC point to the graphics card. Artifacts that stay on the first monitor with a different source point to that monitor.Note when it happens
Artifacts that appear only in games, only after 10 or 20 minutes of play, or only after a driver update each point to a different cause. Write down the pattern before you start changing things.

The screenshot test has one limit worth knowing. A clean screenshot rules out the part of the card that draws the image, the driver and the app. It does not fully clear the card’s output port, so if a cable swap and a second monitor both look fine on another PC, try another port on the card as well.
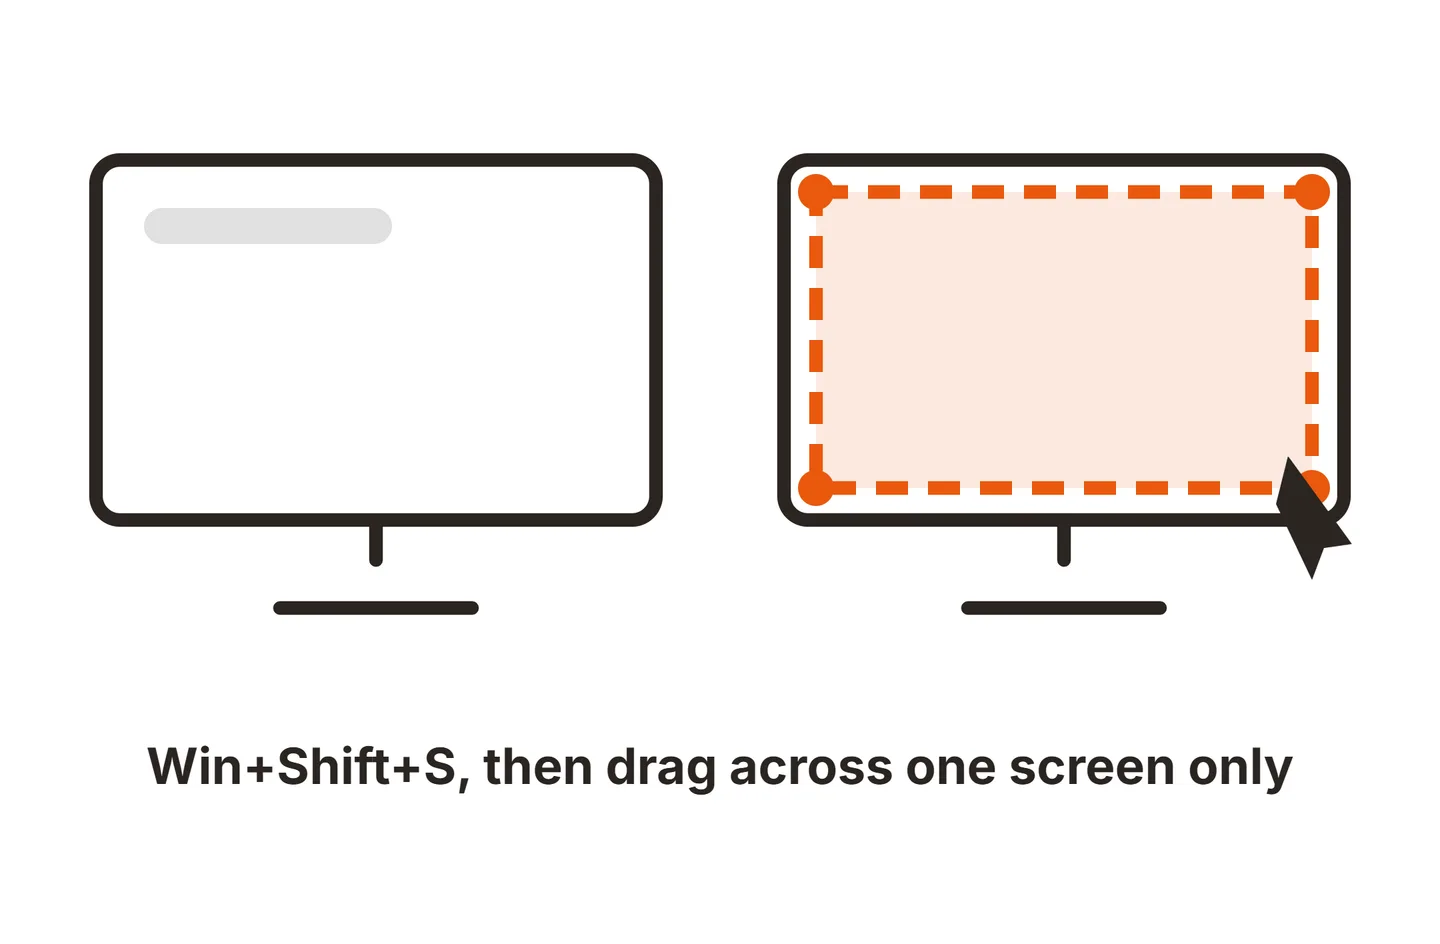
If you run several monitors, you can capture just one of them with Windows key + Shift + S and drag across that screen. That keeps the test clean when only one display shows the glitches.
Types of screen artifacts and what they point to
The shape of the artifact is a strong clue. Use this table to match what you see to the likely cause and the first thing to try.
| Artifact type | Likely cause | What to do first |
|---|---|---|
| Checkerboard or repeating symbol pattern | Failing video memory (VRAM) on the graphics card | Check the BIOS screen; if it shows there, plan a warranty claim |
| Colored dots or sparkles that move | Cable dropping data, unstable memory overclock, or heat | Swap the cable, then reset the GPU to stock clocks |
| Colored dot fixed in one spot | Stuck or dead pixel on the panel | Test on solid colors; see the dead pixel guide |
| Stretched polygons or spiky shapes in games | GPU core overclock, overheating, or a game bug | Remove overclocks, check temperatures, update the game |
| Flickering or missing textures | Driver bug, game bug, or VRAM running out or failing | Clean-install the driver, lower texture quality |
| Blocks of the image shifted or scrambled | Driver crash, VRAM fault, or cable | Screenshot test, then the cable swap |
| Lines across the screen | Cable, GPU, or panel driver circuits | Monitor menu test; see the lines guide |
| Picture split horizontally in motion | Screen tearing, not hardware damage | Turn on VSync, G-SYNC or FreeSync |
| Glitches only on a laptop's own screen | Hinge ribbon cable or panel | Plug in an external monitor and tilt the lid slowly |
Checkerboards, symbols and sparkles
A grid of small repeating squares, rows of odd symbols, or colored speckles over the whole picture usually comes from the graphics card’s memory. This kind of fault is sometimes called “space invaders” because of the little shapes it draws. If it shows up in the BIOS too, the memory is very likely failing, and no driver will fix it.
Moving sparkles that come and go are different. They often come from a cable that cannot carry the full signal, or from memory that has been overclocked past what it can handle. Start with the cable, since it costs the least to test.
Fixed dots versus random dots
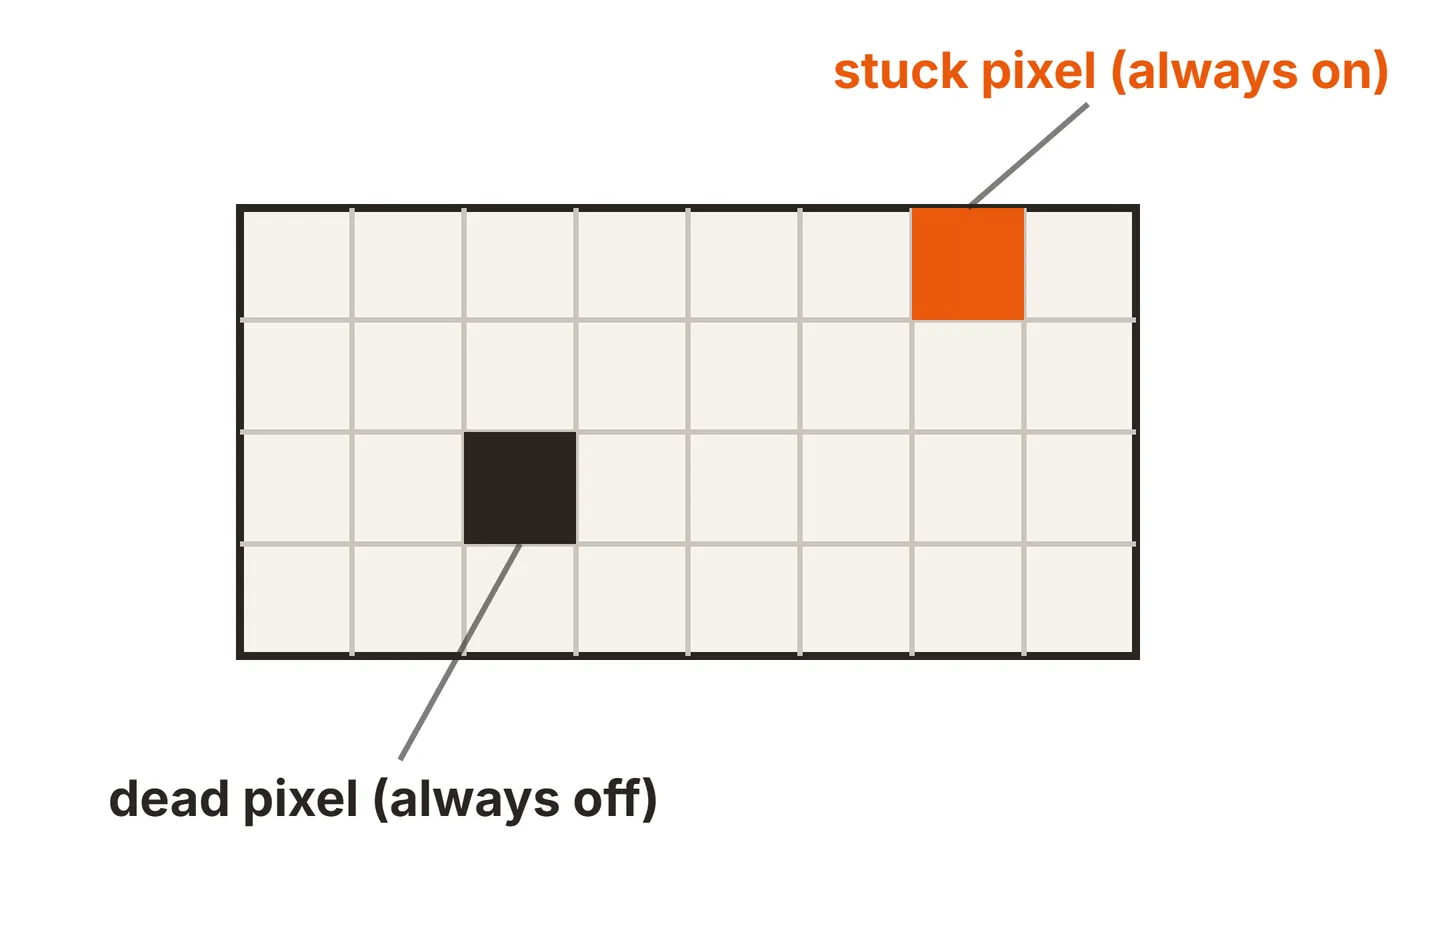
A dot that stays in exactly the same place on every image is not an artifact from the card. It is a pixel on the panel that is stuck on one color or dead. It shows up in the monitor’s own menu and never moves. Our guide to dead and stuck pixels covers what you can try and when it counts as a defect.
Lines and bars
Straight lines, either thin or in bands, are a separate family with their own tests. Our full guide to lines on a monitor maps each type of line to its cause. On a laptop, see the guide to laptop screen vertical lines.
Faults that look like artifacts but aren’t
Screen tearing is the most common false alarm. The screen shows the top part of one frame and the bottom part of the next, so the image looks cut sideways during fast motion. It happens because the card sends frames out of step with the monitor’s refresh, and it does not show in a screenshot. VSync or adaptive sync fixes it. Our guide to using a FreeSync monitor with an NVIDIA card explains how to set that up.

A few other faults are normal panel behavior or settings, not damage:
- Trails or bright halos behind moving objects are usually the monitor’s overdrive set too high. Our guide to what overdrive does on a monitor explains how to pick a level.
- Fine shimmering or crawling lines on certain patterns are pixel inversion, a trait of how some LCD panels drive their pixels.
- Visible steps in skies or dark gradients are banding, usually caused by color depth or compressed video.
- The whole screen going black for a second or two is a signal dropout, not an artifact. See our guide to a monitor blinking black.
What causes screen artifacts?
Once you know which side of the cable the fault is on, the list of causes gets short. These are ordered from most to least likely.
Driver problems. A new driver can bring a bug, and an old one may not support a recent game. Artifacts that started right after a driver or Windows update point here. Driver faults show in screenshots but not in the BIOS.
An unstable overclock. Raising the GPU core or memory clock, even with the maker’s own tuning app, can push the card past what it can do reliably. An unstable memory overclock can show as sparkles or checkerboards, and an unstable core clock as stretched shapes or crashes.
Heat. Dust in the cooler, a fan that has stopped, dried thermal paste or a cramped case can let the card run hotter than it should. Heat-related artifacts appear after some time under load and fade when the card cools down. Check the maximum temperature in your card maker’s specs rather than guessing at a safe number.
Power delivery. A loose power connector on the card, or a power supply below the card maker’s recommended wattage, can cause artifacts, black screens or sudden restarts under load.
Cable, adapter or port. A worn, kinked or underrated cable drops data, which shows as snow, sparkles or flickering blocks. The screenshot stays clean. Adapters, such as DisplayPort to HDMI, add another weak point.
Failing hardware. Failing video memory or a damaged graphics chip causes artifacts that persist at stock settings and show in the BIOS. On the monitor side, a failing panel or its control board (the T-con board that turns the signal into pixel timing) causes glitches that also cross the monitor’s own menu.
Laptop hinge cable. On a laptop, the screen’s signal runs through a thin cable inside the hinge. After years of opening and closing, it can wear. Artifacts that change, flicker or vanish as you tilt the lid point straight at it.

How to fix screen artifacts
Work through the fixes that match your test results, cheapest first.
If the artifacts show in a screenshot
- Restart the graphics driver. Press Windows key + Ctrl + Shift + B. The screen blinks while Windows restarts the driver. If the glitches clear, a driver hang caused them.
- Do a clean driver install. Download the newest driver from NVIDIA, AMD or Intel and choose the clean install option during setup. Intel’s guide to a clean installation of its graphics software shows the steps for Intel graphics, and NVIDIA and AMD installers offer a similar option.
- Roll back if a new driver started it. Microsoft’s screen flickering guide explains how to roll back a display driver in Device Manager, and its Task Manager test tells you whether a driver or an app is to blame.
- Remove every overclock. Reset the card to default clocks in its tuning app, and turn off any memory or voltage changes. If the artifacts stop, raise the clocks back in small steps, or leave them at stock.
- Check temperatures and clean the cooler. Task Manager’s Performance tab shows the GPU temperature on many dedicated cards. Blow the dust out of the card’s fins and case filters, and make sure every fan spins.
- Lower the load. If one game artifacts at high texture settings, drop the texture quality. Running out of video memory can cause missing or flickering textures without any damage.
If the screenshot is clean
- Reseat and replace the cable. Unplug both ends, plug them back in firmly, then try a known-good cable rated for your resolution and refresh rate.
- Remove adapters and try another port. Connect directly, and test a different port on both the card and the monitor.
- Drop to a standard refresh rate. In Settings, then System, Display and Advanced display, choose a lower refresh rate for a test. If the glitches stop, the cable or port cannot carry the full signal.
- Run the monitor’s menu test. Glitches over the monitor’s own menu mean the panel or its control board is failing. That is a warranty or repair case, so do not open the monitor yourself.
If it’s a laptop
Plug the laptop into an external monitor. Artifacts on both screens mean the graphics chip or driver, so follow the screenshot fixes above. Artifacts on the built-in screen only, especially ones that change with the lid angle, mean the hinge cable or panel. Both are usually a repair-shop job.
When to replace the graphics card or monitor
Replace or claim warranty on the graphics card when the artifacts show in the BIOS, stay after a clean driver install at stock clocks and normal temperatures, and follow the card into another PC. Those three together leave little doubt. Before you send it in, take a photo or short video of the artifacts to show support what you see.
Replace or claim warranty on the monitor when the glitches cross its own menu, or stay with a different PC and a different cable. For other panel faults you might be seeing at the same time, our guide to monitor screen issues covers flicker, blur and dark patches.
Conclusion
Screen artifacts come from the graphics card side or the display side, and a screenshot tells you which. Artifacts in the screenshot mean a driver, an overclock, heat or the card itself, so reinstall the driver cleanly, reset clocks and clean the cooler. A clean screenshot means the cable, port or monitor, so swap the cable and check the monitor’s menu. A good result is a clean picture under full load. For more fixes, see the troubleshooting hub or the SubInsider monitor knowledge base.
Frequently asked questions
Can screen artifacts damage my monitor?
No. Artifacts are a symptom, not a cause. The monitor only shows the signal it receives, so GPU artifacts do not harm the panel. The real risk sits in the graphics card: if heat or a failing memory chip causes them, keep using the card hard and it can crash more often or fail outright. Fix the cause early.
Is GPU artifacting fixable?
Often, yes. Artifacts caused by an unstable overclock, a bad driver or high temperatures usually stop once you reset the clocks, do a clean driver install or clean out the dust. Artifacts that show up in the BIOS, at stock settings and at normal temperatures usually mean failing video memory or a failing chip, which needs a warranty claim or a new card.
Why do I only get artifacts in one game?
Artifacts in one game only usually point to that game or its settings, not to dying hardware. Update the game, verify its files in the launcher, and try the newest or the previous driver. If the same artifacts spread to other demanding games, check temperatures and remove any overclock, since one game may simply push the card harder.
Do screen artifacts mean my GPU is dying?
Not always. A single bad driver or an aggressive overclock can produce the same sparkles and blocks as a failing card. The warning signs of real failure are artifacts in the BIOS before Windows loads, artifacts that stay after a clean driver install at stock clocks, and artifacts that follow the card into another computer.
Can a bad HDMI or DisplayPort cable cause artifacts?
Yes. A damaged or underrated cable can drop data and cause sparkles, colored snow, flickering blocks or a picture that cuts to black. A screenshot will look perfect, because the corruption happens in the cable, not the card. Try a certified cable rated for your resolution and refresh rate, without adapters, to rule it out.